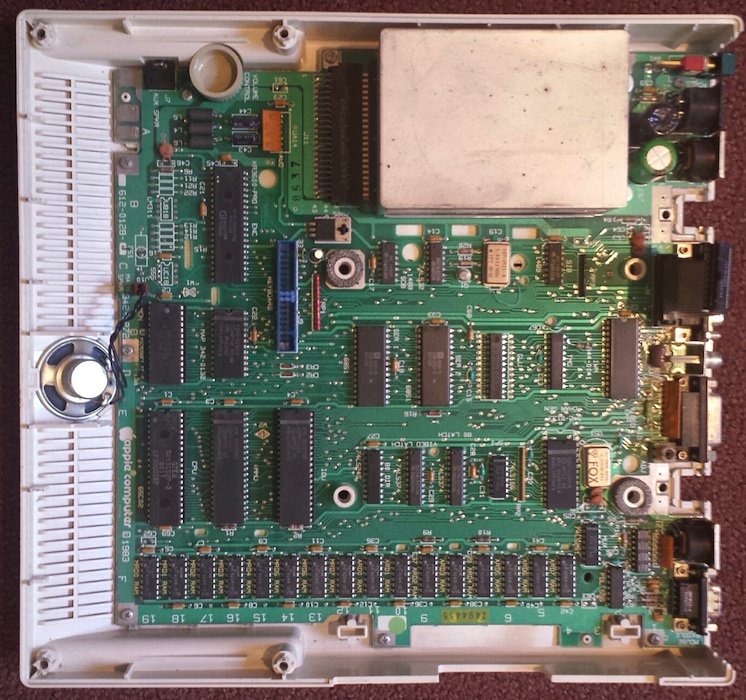
The more I learn about the Apple II world, the stranger it seems. Who knew the Apple IIc went through four different ROM versions, each with different capabilities, but mentioned nowhere in the model number or product label? I recently bought a IIc system, and discovered it had the oldest of these ROM versions, meaning it lacked support for external Smartport disks. Experimenting with a Smartport hard drive was the main reason I wanted the IIc, so that was a problem! After a bit of research, I did what any self-respecting hacker would do, and replaced the IIc ROM myself with a simple logic board modification. Fortunately I learned a few interesting things along the way.
Finding an Apple IIc
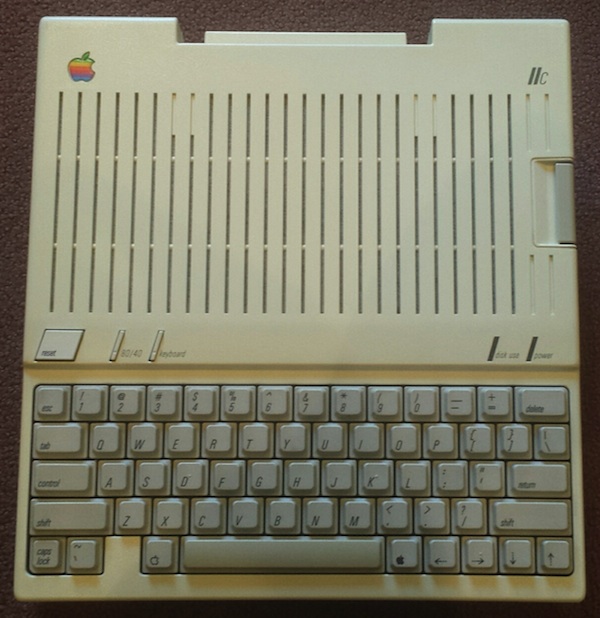
The IIc that I bought was a fairly nice one, with minimal yellowing, and the external power adapter included. If you’re searching for a IIc system on eBay, you’ll quickly notice that 80% of them don’t include the power adapter. And to make matters worse, the power adapter uses an uncommon DIN plug, so you can’t just substitute a modern laptop power supply with a standard barrel plug. What happened to all the original Apple power adapters? Did everyone carefully pack away their IIc system in the attic in 1990, but throw the power adapter in the trash? Did they all stop working? Is some guy in Kansas hoarding a stockpile of 10,000 power adapters for the Apple IIc?
Fortunately, someone in New Mexico has a large quantity of new laptop power supplies with an appropriate DIN plug for the IIc, and is selling them on eBay for $18 each. They’re probably more efficient than the original, too.
My IIc system suffered a mishap during shipping. I understand that accidents sometimes happen, but I’ve received too many vintage computers that were minimally packaged, as if expecting the post office to handle them with tender loving care. In reality these packages take a lot of abuse – imagine the box being thrown down a flight of stairs. In my case, the single layer of bubble wrap (with most bubbles popped) surrounding a 10 pound machine didn’t offer much protection. One of the corners got whacked hard, breaking the case surrounding the power switch, and leaving many small pieces rattling around inside.
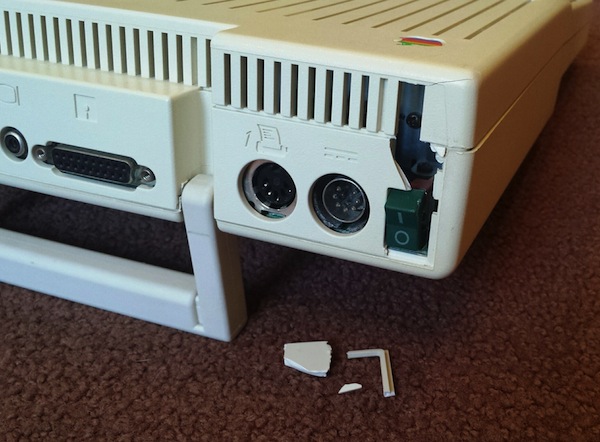
The system still worked, and I was eventually able to fish out the missing pieces. The seller gave me a partial refund for the damage, and I was able to make a rough repair with a liberal helping of super glue. Onward!
IIc ROM Versions
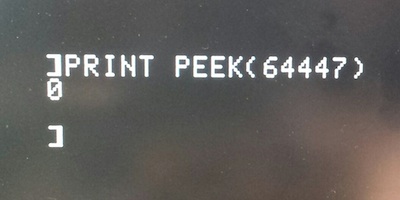
For the curious, you can type PRINT PEEK (64447) at the BASIC prompt to find what ROM version is present in an Apple IIc. There are four versions:
- 255 – The original Apple IIc ROM, size 16K. No support for Smartport disks. However, it has a nifty “PR#7″ feature that allows for booting from an external floppy drive configured as drive #2, something that’s not normally possible. This was the ROM installed in my IIc. In my tests, PR#7 worked to begin booting from the external drive, but most software seemed to be hard-coded to expect to boot from drive #1. The disks would start the boot process, but then the empty drive #1 would begin seeking in vain. The only disks I found that booted successfully from drive #2 were ProDOS and the game Moon Patrol.
- 0 – With version 0, the ROM doubled in size to 32K. This ROM version eliminated the option for booting from drive #2, but added support for Smartport disks. The most common of these was the Unidisk 3.5, an intelligent external 800K floppy drive. But the Smartport protocol could also be used to communicate with other types of external disks, including hard disks up to 32MB in size.
- 3 – Version 3 accompanied a logic board change, making it possible to expand the IIc’s memory.
- 4 – Version 4 corrected some bugs present in version 3.
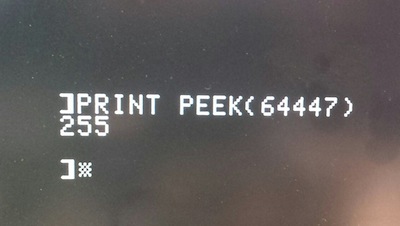
You can download binary images of all four versions of the Apple IIc ROM from apple2.org.za. As far as I can tell, the first 256 bytes of the ROM aren’t actually used, and attempting to read these locations on a running IIc system will modify various hardware switches instead.
ROM Upgrade
Since my IIc system lacked the memory expansion connector, there was no reason to upgrade to ROM version 3 or 4. Version 0 would give me the Smartport support I wanted, so I set that as my goal. But wait! ROM version 255 was a 16K ROM, while ROM version 0 was a 32K ROM. Obviously this wasn’t going to be a simple chip swap.
Looking at the schematics of an Apple IIc, it’s clear there’s some funny business happening with the ROM:
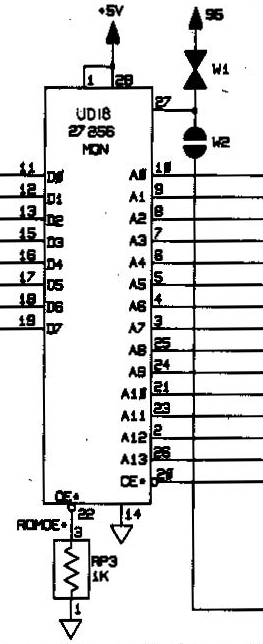
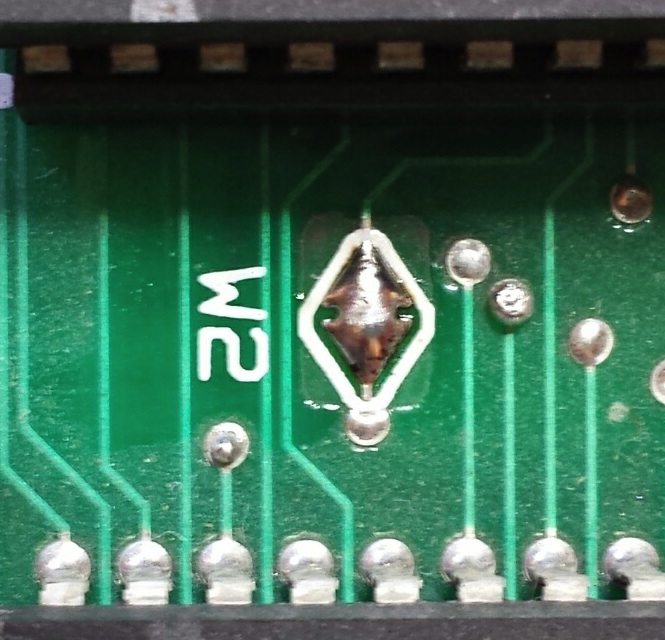
It’s labeled as a 27256, which is a 32K EPROM. But pin 27, which should be the highest address bit (A14), is instead connected to some strange components labeled W1 and W2. Huh? After a bit of poking around, it became obvious that W2 was a solder bridge jumper (normally open), while W1 was a track designed to be cut (normally closed). You can see them both here:
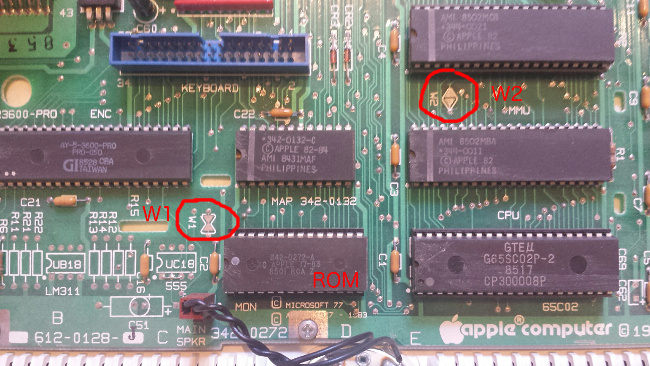
It looks like Apple designed the IIc from the start to support 32K ROMs, but initially shipped ROM version 255 as a 16K ROM, perhaps as a cost-saving measure. This would have allowed them to use 27128 ROMs, which hold only 16K instead of 32K. With the 27128, pin 27 is the /P or “program” pin, which must be kept high during normal operation. W1 (normally closed) connects pin 27 to the supply voltage to keep it high, while W2 is open and therefore disconnected. 16K ROM operation works.
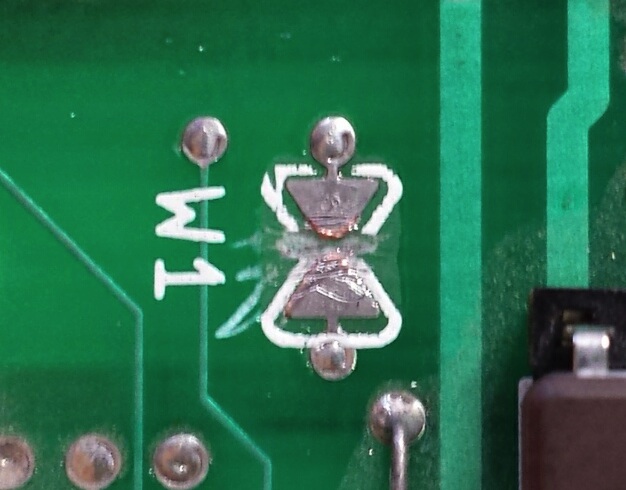
In order to upgrade to a 27256 ROM with 32K, W1 must be cut, and W2 must be bridged. This disconnects pin 27 from the supply voltage, and connects it through W2 to the address bus, A14. Now 32K ROM operation works. It’s not the most user-friendly upgrade path, as it involves making permanent modifications to the logic board, but it’s better than nothing. You can see my cut at W1 and bridge at W2 here:
But say, where can you find a replacement ROM chip in the year 2015? Those old 27256 UV-erasable EPROMs are ancient, and I don’t own a UV eraser anyway. I looked into using a 28C256, an electrically-erasable EEPROM with an almost identical pinout, but “almost” isn’t quite enough. With some creative cutting and jumpering it could probably work, but I wanted a cleaner solution.
Jameco sells a one-time programmable 27C256 that might work. The pinout is the same, and since it can only be programmed once, there’s no need for UV erasing. But what if I made a mistake while programming the chip – I’d be left with a brick. And this particular OTP chip also has a fairly slow access time of 250ns. I wasn’t sure what speed was needed, but the RAM appeared to be 150ns, and I guessed the ROM may have the same speed requirements.
Also at Jameco is a standard UV-erasable 27C256, with a 150ns access time. This looked good, except it was labeled as a refurb product. If it were already programmed with somebody’s old data, I wouldn’t have any way to erase the chip except to leave it in the sun for a week or two, and I’m not that patient.
In the end, I bought one of each. Fortunately, the UV-erasable 27C256 proved to be already erased. After programming the version 0 image to the ROM, and making the necessary logic board mods at W1 and W2, it worked!
A Final Mystery
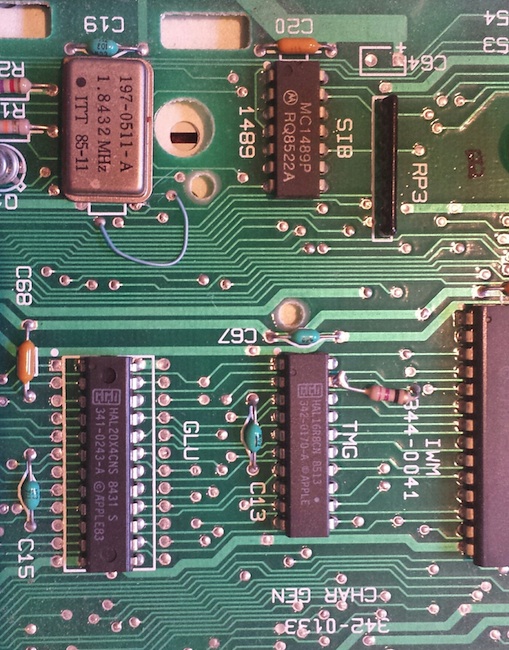
While I had the logic board exposed, I noticed a few mysterious modifications already present. Just next to the 1.8432 MHz oscillator, a narrow purple wire connected two vias. And nearby, a resistor connected pin 19 of the TMG chip to another via. The purple wire looked very cleanly done, but the resistor was much uglier. Were these older repairs from another hobbyist, or perhaps factory changes made by Apple for some earlier logic board revisions? What are these changes for?
